Introduction
After learning how to select the objects from the drawings, now we begin to learn how to do something to the objects. Assume that we want to hatch the polygons on the certain layer. We can select out the polygons based on the knowledge before. Here we will learn how to hatch the polygons.
First of all, we have a look at the CLASS HATCH.
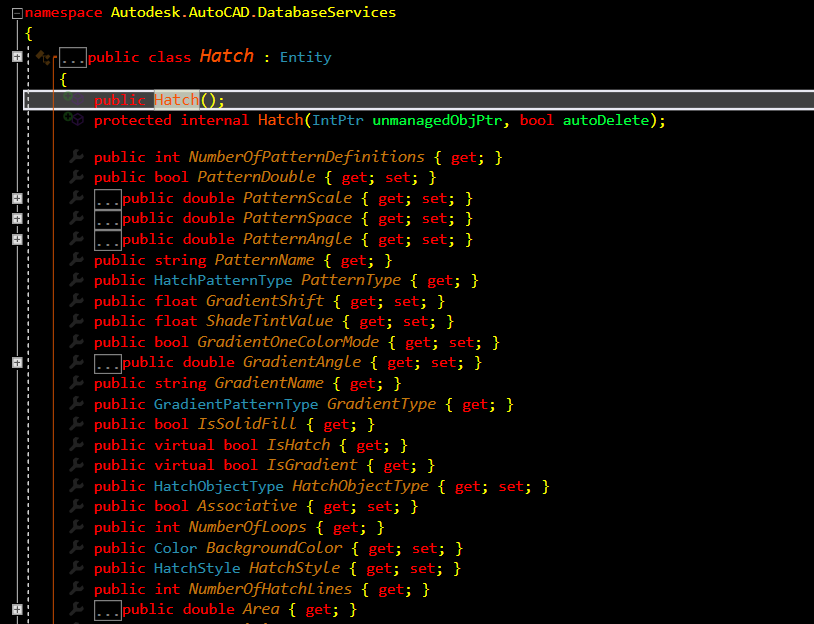
For example, from the figure above, we can see how to create the HATCH.
It is quite similar as the creation of other objects.
- Create the empty HATCH Object
- The we assign the empty object with other properties
SOME CODE
  public Hatch HatchPolygon(Transaction tr,BlockTableRecord btr, string layername, short colorindex, ObjectIdCollection objectIdCollection)
  {
      //declare a hatch pbject
      Hatch ent = new Hatch();


      ent.HatchObjectType = HatchObjectType.HatchObject;

      //set the hatch pattern, scaleand other properties
      ent.SetHatchPattern(HatchPatternType.PreDefined, "SOLID");
      ent.PatternScale = 1.0;
      ent.Elevation = 0;
      ent.Layer = layername;
      ent.PatternAngle = Math.PI / 4;
      ent.Color = Color.FromColorIndex(ColorMethod.ByAci, colorindex);


      //add the hatch object into the BlockTableRecord
      btr.AppendEntity(ent);
      tr.AddNewlyCreatedDBObject(ent, true);

      //associate the hatch object with the boundary
      ent.Associative = true;

      ObjectIdCollection obIds = new ObjectIdCollection();
      for (int i = 0; i < objectIdCollection.Count; i++)
      {
          obIds.Clear();
          obIds.Add(objectIdCollection[i]);
          ent.AppendLoop(HatchLoopTypes.Outermost, obIds);
      }


      //calculate the hatch area and how the result
      ent.EvaluateHatch(true);

      return ent;
  }