01.Start up with the Environment
- Language: C#
- IDE: VS2019
- CAD: 2019
The relationship between CAD edition and product codes for installation
R19.0: 2013
R19.1: 2014
R20.0: 2015
R20.1:2016
R21.0:2017
R22.0:2018
R23.0:2019
R23.1:2020
R24.0:2021
02. Create a new project
Build up a class file which can be loaded by AutoCAD later for use.
- Start Visual Studio
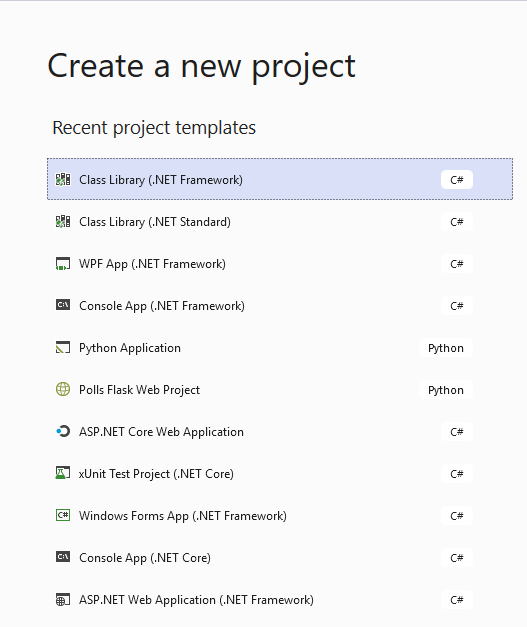
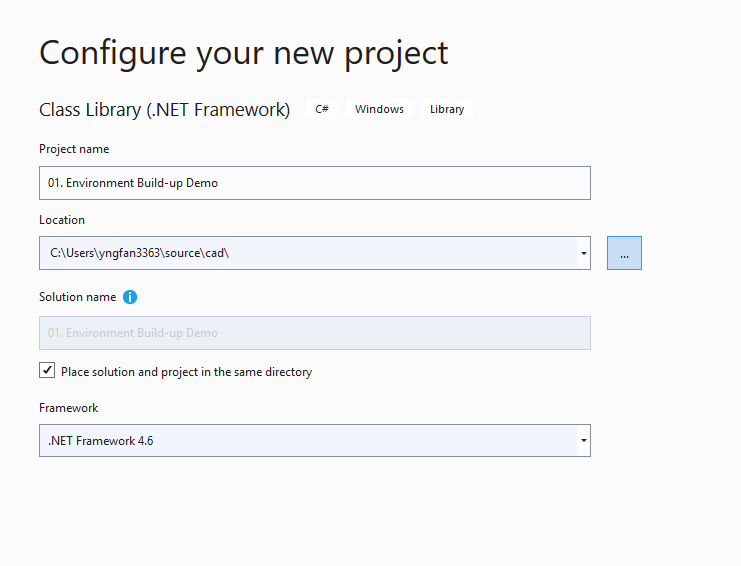
- Create new project with .NetFramework 4.7
03. Load the files
The we load the .dll file in the AutoCAD root folder into the projects, then the code we write can use them to command AutoCAD.
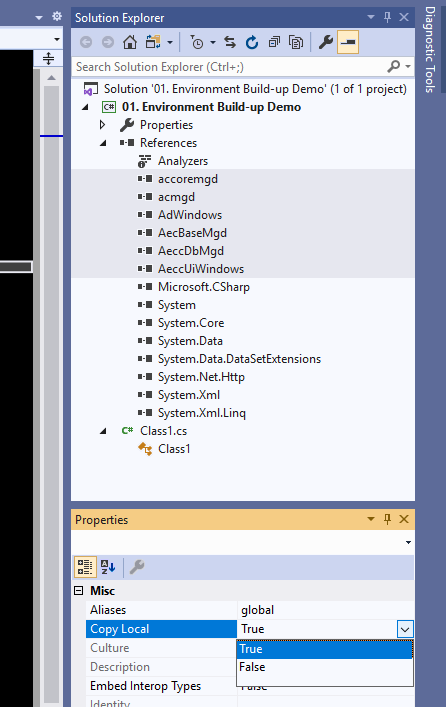
turn “copy Local” to False
The brief info the main three .dll files are listed as below.
AcDbMgd.dll. Use when working with objects in a drawing file.
AcMgd.dll. Use when working with the AutoCAD application.
AcCui.dll. Use when working with customization files.
04. Write the code
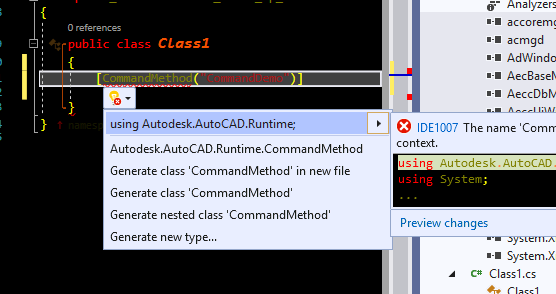
Once we load the .dll files, Visual Studio is smart enough to remind us to using the right assembly as show in the figure below.
namespace _01.Environment_Build_up_Demo
{
    public class Class1
    {
        [CommandMethod("CommandDemo")]
        public void Demo1()
        {
            Editor ed = Autodesk.AutoCAD.ApplicationServices.Application.DocumentManager.MdiActiveDocument.Editor;
            ed.WriteMessage("Hello World");
        }

    }
}
05. Build up the code
Main Menu -> Build -> Rebuild solution
then the .dll file will be built up.
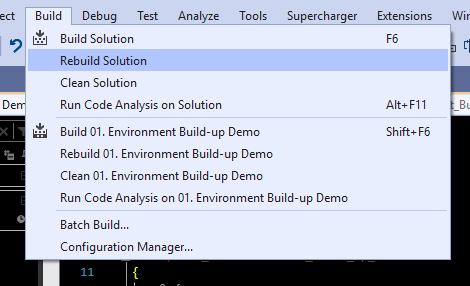
Several seconds later, we can see the “succeeded” information.

06. Run the code in AutoCAD
The we need to start up AutoCAD, and then input netload to load the .dll we write into CAD,
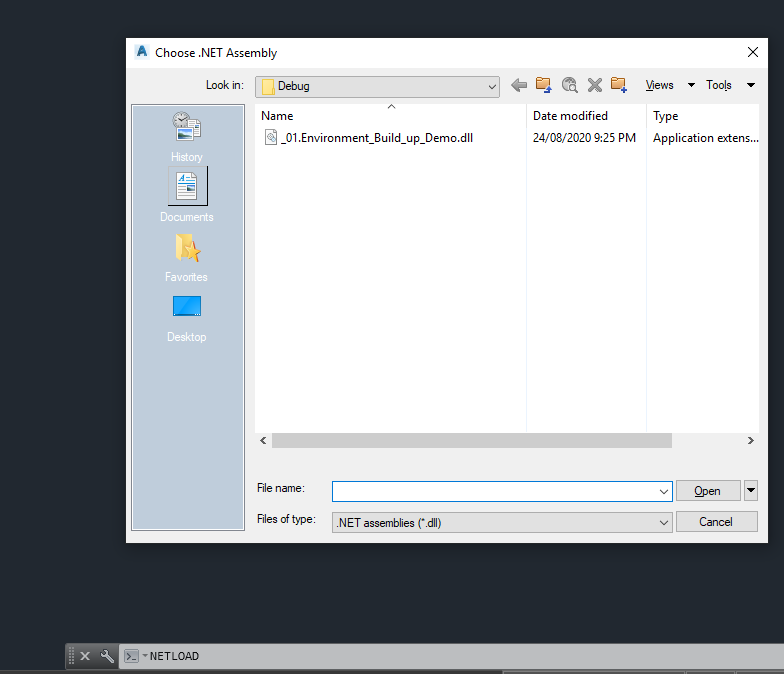
The we input the command into the
CommandDemo
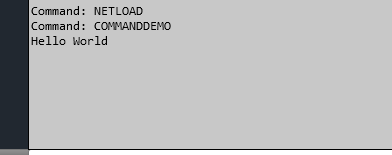
07. Solution files in VS
Project and solution files have the following file extensions:
- VBPROJ - Microsoft Visual Basic (VB) .NET project file
- CSPROJ - Microsoft Visual C# project file
- SLN - Microsoft Visual Studio solution file```